Alright, so last post I said I was going to create a card on Friday, I said it out loud so it would actually happen! Well, I didn't complete a full card but I did play with some stamps and ink at a coffee shop with my friends. Does that count? Here are the little guys we coloured:
Well I finally got around to putting them on some notecards yesterday along with creating another card. I wanted to use the
Layering Ovals Framelits Dies that are on sale to showcase them with my card.
Today is the last day to get these particular framelits on sale. Here is what else is on sale, click on the picture to take you to my online store.
If you ever wanted to get into Project Life, now is the time while the product is on sale. Continue reading so you can see another way of using project life card collections....
Here is how I used my oval framelits?
Isn't he cute? So, I started with a soft sky card base and I cut out the oval from the card front to make a window card. I then cut out a scallop oval from a scrap piece of soft sky card stock and then using the same oval framelit as the one from the window card, cut out the centre of the scalloped oval. Now you have a thin scallop ring to apply to the front of the card. First I sponged it so it would stand out and I stamped on the card front with little white speckles before I adhered with tweezers and the fine tip glue pen.
The mouse is stamped on a 4 x 5 1/4" piece of white card stock with basic black archival ink. After I coloured with markers and a blender pen, I then attached this layer to the inside front cover with dimensionals so the mouse would be set back in the window. A stamped embossed greeting, something on the inside a coordinating envelope and finish off with some wink of stella and some glitter and you are all done!
 |
| The Inside and the coordinating envelope! |
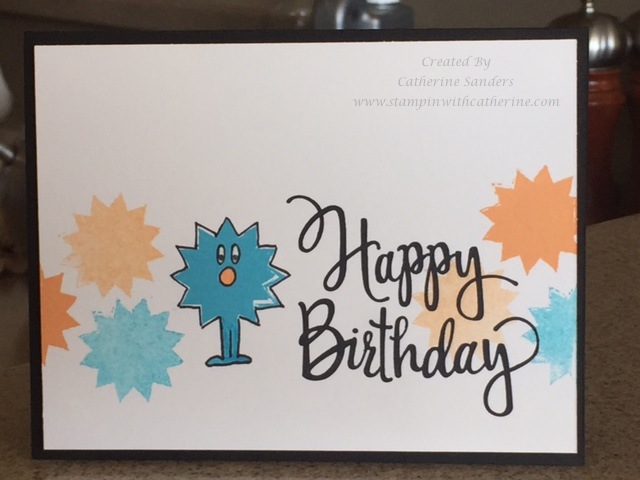
And here are the cards I made with those little mice from the first photo. I wanted to keep them very simple on notecards.
Here are the supplies used for the Soft Sky Card:
Stamp Sets: Merry Mice (c) 142145, Mountain Adventure (p) 142194 (for the dots)
Card Stock: Soft Sky and Whisper White (on the notecards I layered on Island Indigo)
Ink: Basic Black Archival Ink, Soft Sky, Whisper White, Versamark
Markers: Smoky Slate, Island Indigo, Basic Black, Real Red, Pink Pirouette, Tip Top Taupe, Sahara Sand (for the notecards I used a wide variety of colours)
Tools: Blender Pens,
Layering Ovals Framelits Dies 141706 $11.50 off reg price, Sponge, Whisper White Embossing Powder, Heat Tool, Big Shot, Wink of Stella Clear, Fine Tip Glue Pen, Dazzling Diamonds Glitter
I hope you have enjoyed my cards for today! If you have any questions I'd be more than happy to answer them so just send me an email, or post a comment here.
Coming Soon... a How to Video on colouring with markers and blender pens....
Oh.. Last thing about the sale items... have you ever wondered what is Project Life? Well... people just assume it is just for scrapbooking photos... but it isn't... You can make a whole variety of cards with the card collections. My friend Patty did just that and I would like to share her amazing cards with you. It's amazing what you can do with just a bit of imagination!
All these cards were created using the
Hello Lovely Card Collection Kit! So Much Fun!!!
Don't forget when shopping in my
online store, be sure to use my monthly hostess code. You enter it in at the space at the bottom left of the shopping cart.
September's Code is R9UV4BJ6
Why use the code you ask? Well, by using the code, your order along
with others who use the code add up to earn Stampin' Rewards. At the
end of the month I close the workshop and distribute the rewards amongst
those that ordered! Free Product! Isn't that awesome! So use the code :)
Have a great day!
Catherine